Chocolate Mint Dream Bars – A Decadent Layered Dessert You’ll Crave Again and Again
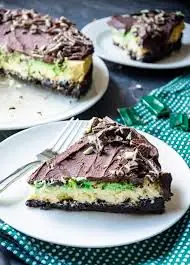
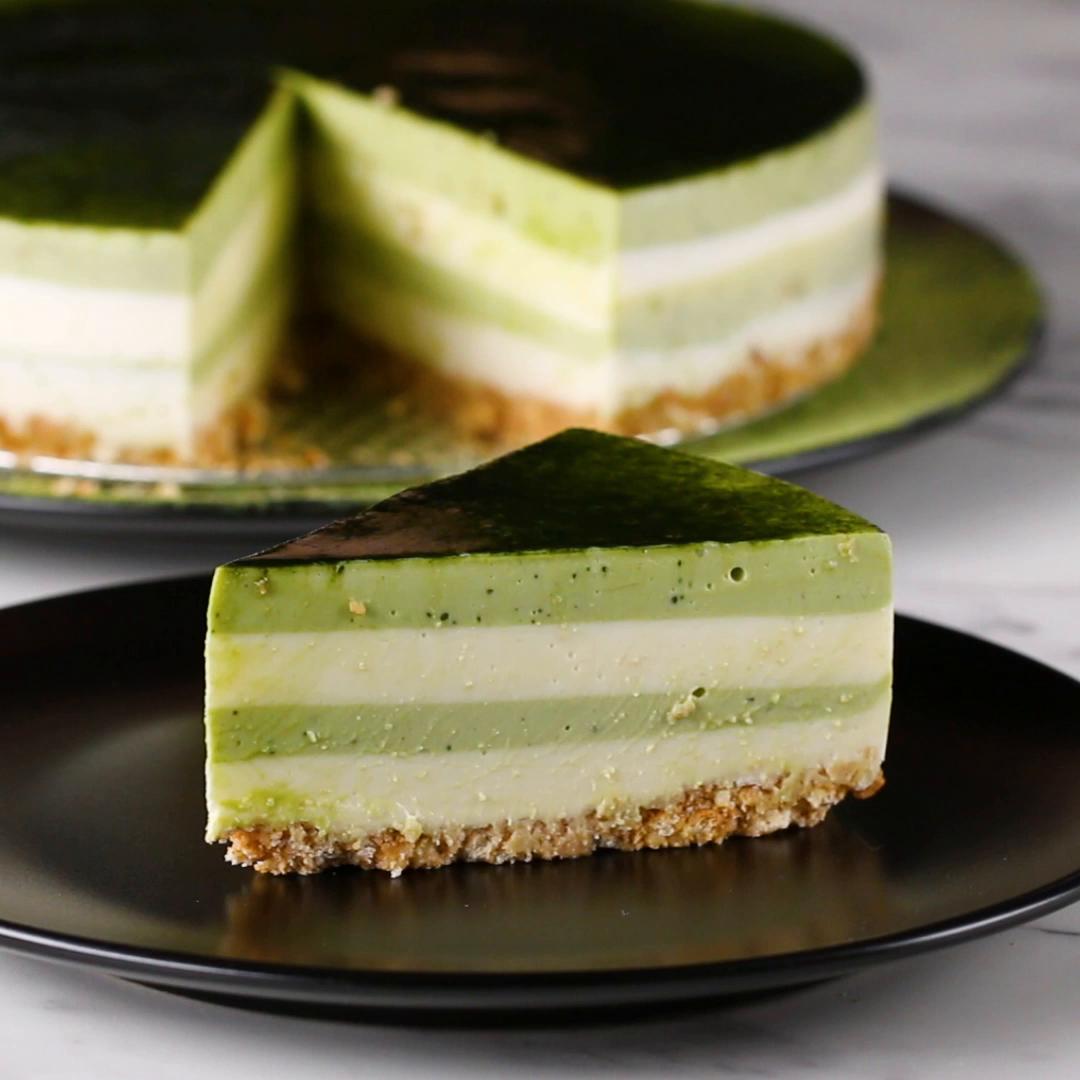
There’s something wildly satisfying about the combination of deep, bittersweet chocolate and cool, refreshing mint. It’s bold yet balanced. Rich yet light. The dessert in the image captures that harmony perfectly: a dense chocolate cookie base, a silky mint cream center, and a glossy dark chocolate ganache topping crowned with chocolate chunks and fresh mint leaves. This is not just a dessert — it’s a layered experience.
Below is a complete, detailed recipe that walks through every step so the texture, flavor balance, and structure turn out exactly right.
Why This Dessert Works
The structure is built on contrast:
-
A slightly crunchy chocolate cookie crust
-
A creamy, aerated mint filling
-
A smooth, shiny chocolate ganache
-
Garnishes that add visual drama and texture
The fat content in the cream cheese stabilizes the mint layer, while the ganache seals everything with a luxurious finish. Each bite delivers softness, richness, and a fresh mint lift that keeps it from feeling heavy.


Ingredients
For the Chocolate Cookie Base
-
2 cups chocolate cookie crumbs (Oreo-style, filling removed)
-
6 tablespoons unsalted butter, melted
-
1 tablespoon cocoa powder (optional, for deeper flavor)
-
Pinch of salt
For the Mint Cream Layer
-
16 oz (450g) cream cheese, softened
-
1 cup heavy whipping cream
-
¾ cup powdered sugar
-
1–1½ teaspoons peppermint extract (adjust to preference)
-
A few drops green food coloring (optional)
-
1 teaspoon vanilla extract
For the Chocolate Ganache Topping
-
1 cup heavy cream
-
8 oz (225g) dark chocolate (60–70% cocoa), finely chopped
-
1 tablespoon butter (for shine)
Garnish
-
Chocolate chunks or squares
-
Chocolate shavings
-
Fresh mint leaves
Step 1: Build the Foundation
Preheat oven to 350°F (175°C).
In a bowl, combine chocolate cookie crumbs, melted butter, cocoa powder, and salt. Mix until the texture resembles damp sand. When pressed between fingers, it should hold its shape.
Press firmly into a parchment-lined 8x8 inch pan. Use the bottom of a glass to compact it evenly — this prevents crumbling later.
Bake for 8–10 minutes. Remove and let cool completely. The short bake sets the butter and intensifies the cocoa flavor.


Step 2: Create the Mint Cream Layer
In a large mixing bowl, beat softened cream cheese until completely smooth — no lumps allowed. This step determines texture quality.
Add powdered sugar and vanilla extract. Mix until incorporated.
In a separate bowl, whip heavy cream to stiff peaks. This introduces air, giving the layer its light mousse-like consistency.
Fold whipped cream gently into the cream cheese mixture. Do not overmix — preserve the air.
Add peppermint extract gradually. Taste and adjust. Peppermint can overpower quickly, so precision matters.
Add a small amount of green food coloring if desired. The pastel tone should look natural, not neon.
Spread evenly over the cooled crust. Smooth with an offset spatula.
Chill for at least 2 hours (or until firm).
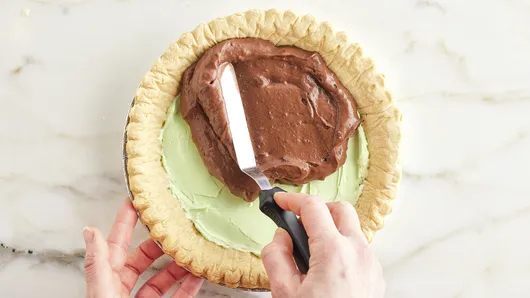
Step 3: The Glossy Ganache Finish
Heat heavy cream until steaming but not boiling. Pour over chopped dark chocolate. Let sit 2 minutes.
Stir slowly from the center outward until smooth and glossy. Add butter for sheen and silkiness.
Allow ganache to cool slightly (lukewarm but pourable). If too hot, it may melt the mint layer.
Pour gently over the chilled mint filling. Tilt pan to distribute evenly.
Refrigerate for another 1–2 hours until fully set.


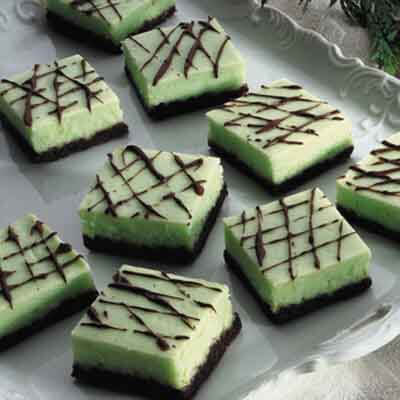
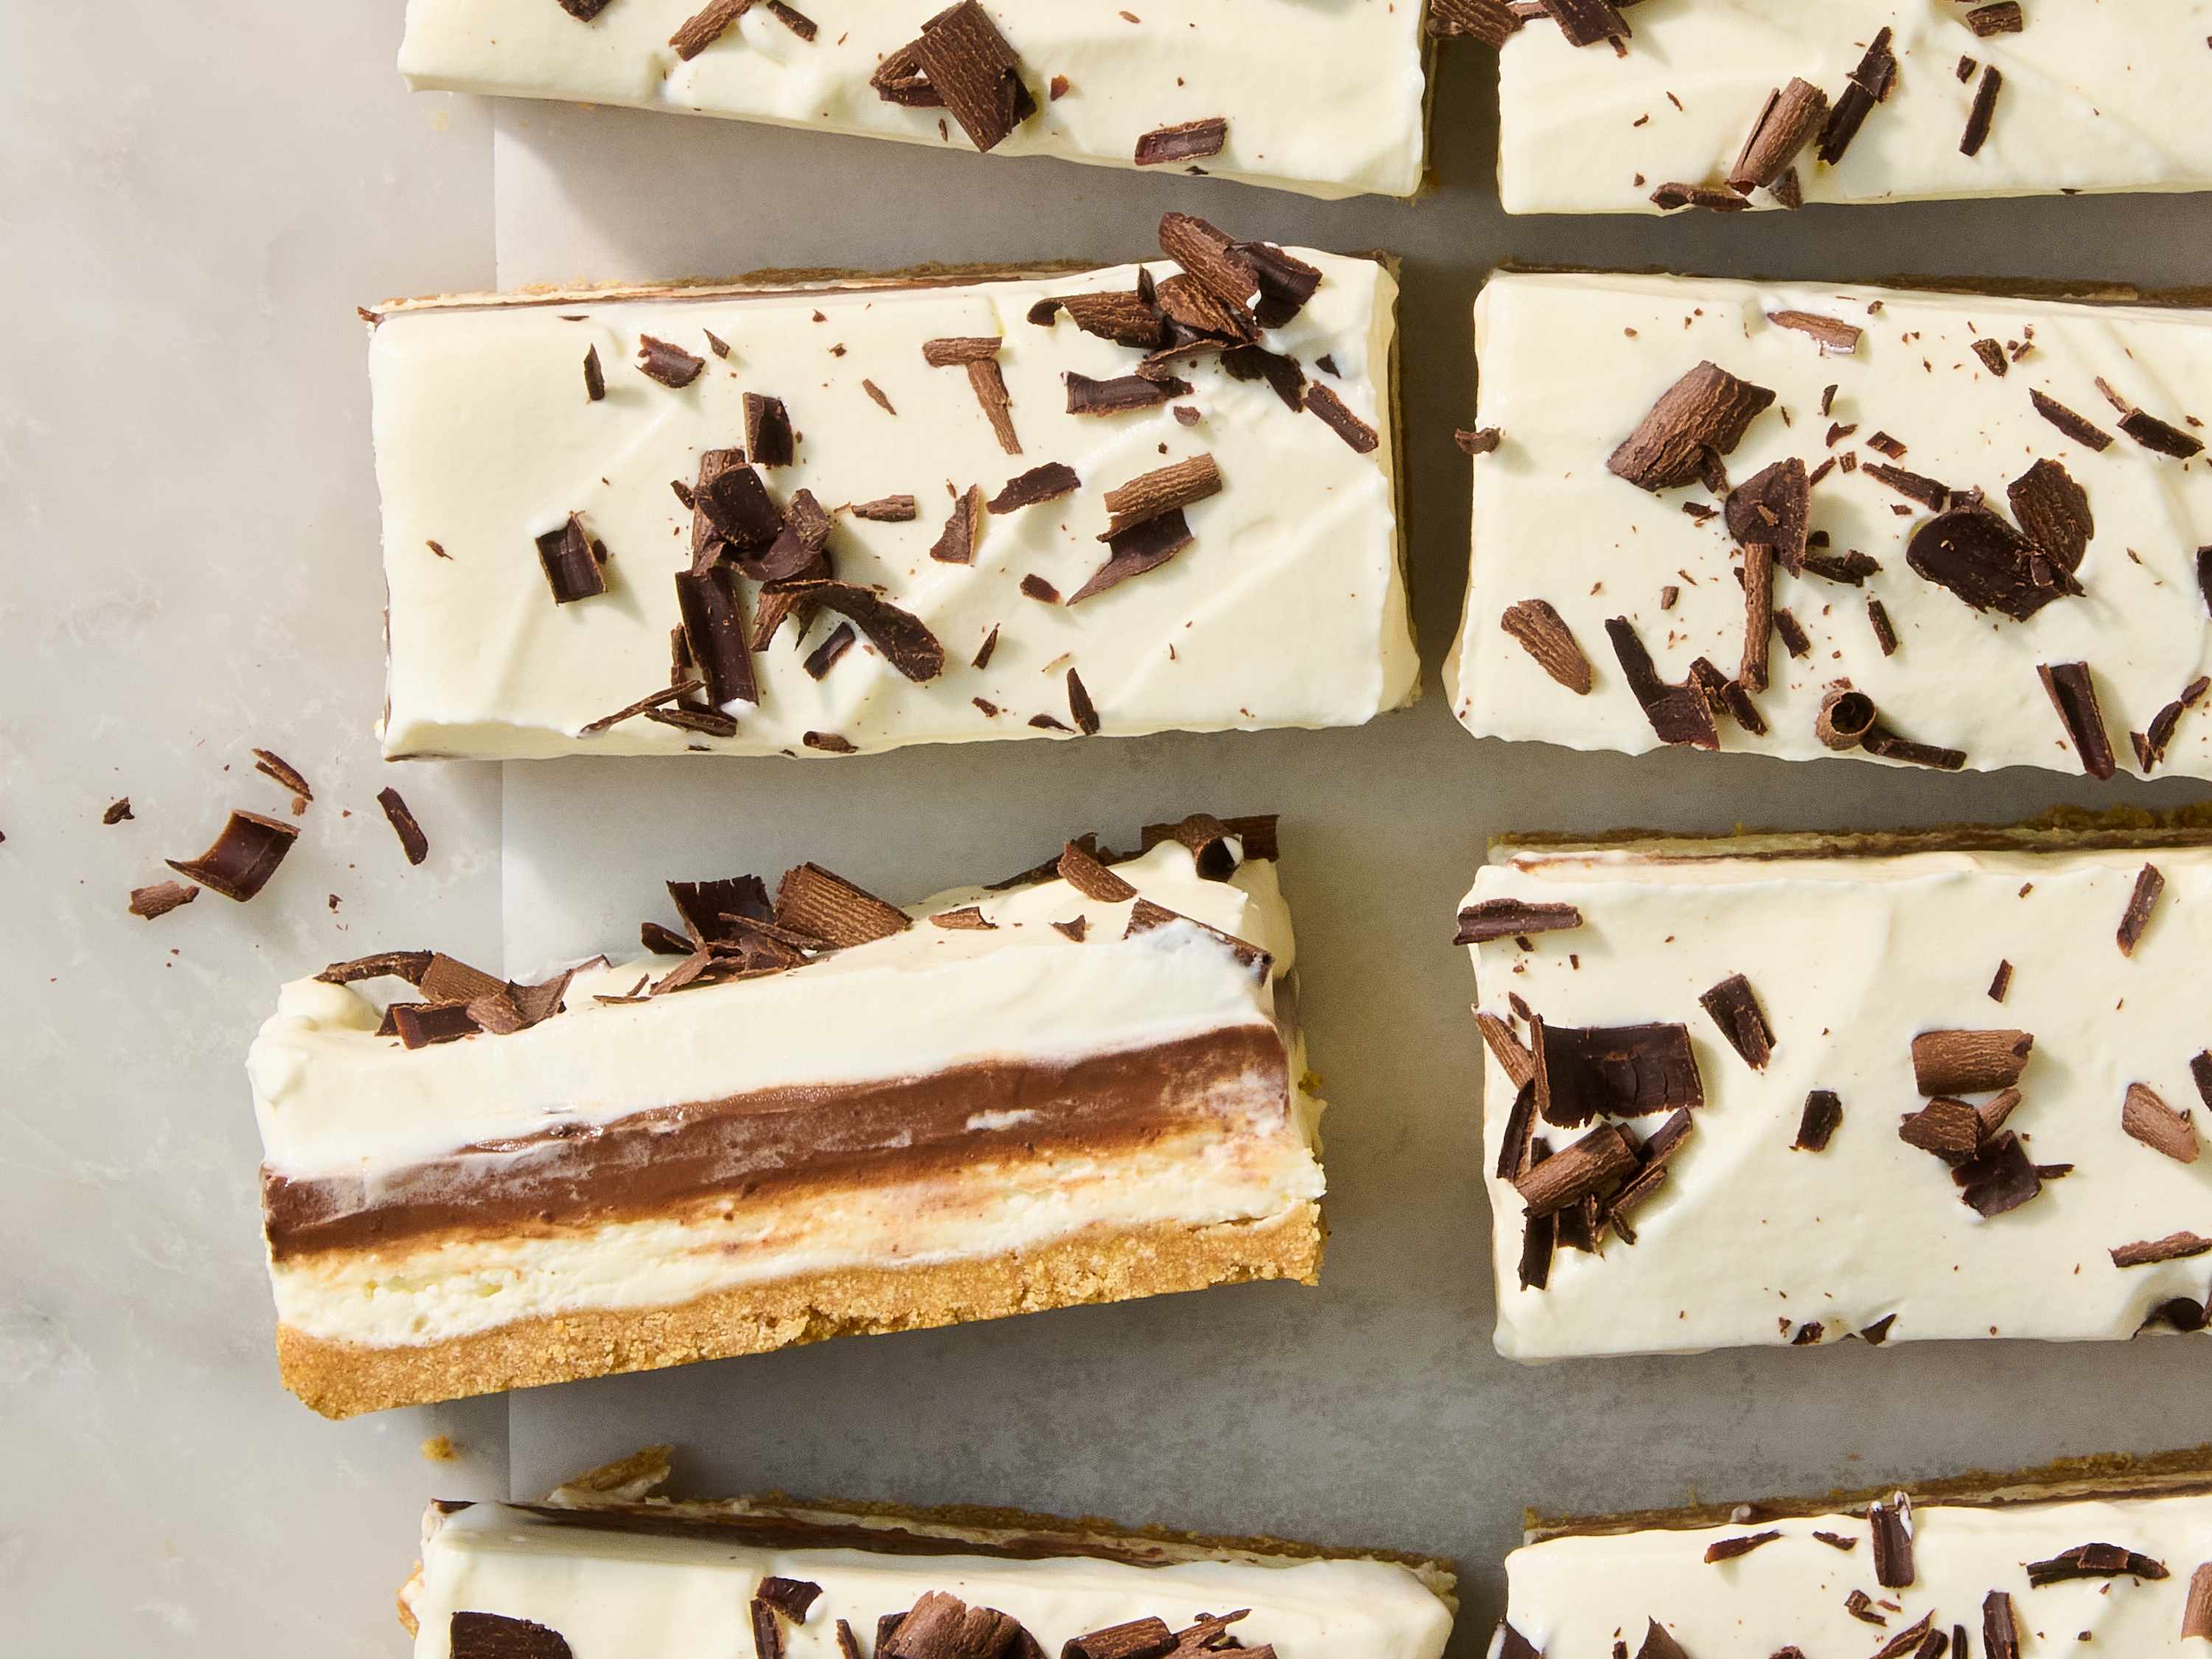
Step 4: Garnish and Presentation
Once fully chilled, remove from pan using parchment edges.
Use a hot knife (dip in warm water and wipe dry) for clean cuts.
Top with:
-
Dark chocolate cubes
-
Chocolate curls
-
Fresh mint leaves
The garnish should look intentional and abundant but not chaotic. Structure creates elegance.


Texture & Flavor Profile
-
The crust: firm, slightly crumbly, deeply cocoa-forward
-
The mint layer: airy, creamy, cool, subtly sweet
-
The ganache: smooth, rich, slightly bitter
The bitterness of dark chocolate offsets sweetness, while mint acts as a palate cleanser in each bite.
Storage & Make-Ahead Tips
-
Store refrigerated up to 4 days in an airtight container
-
Freeze for up to 1 month (wrap tightly)
-
For cleaner slices, freeze 20 minutes before serving
Flavor Variations
-
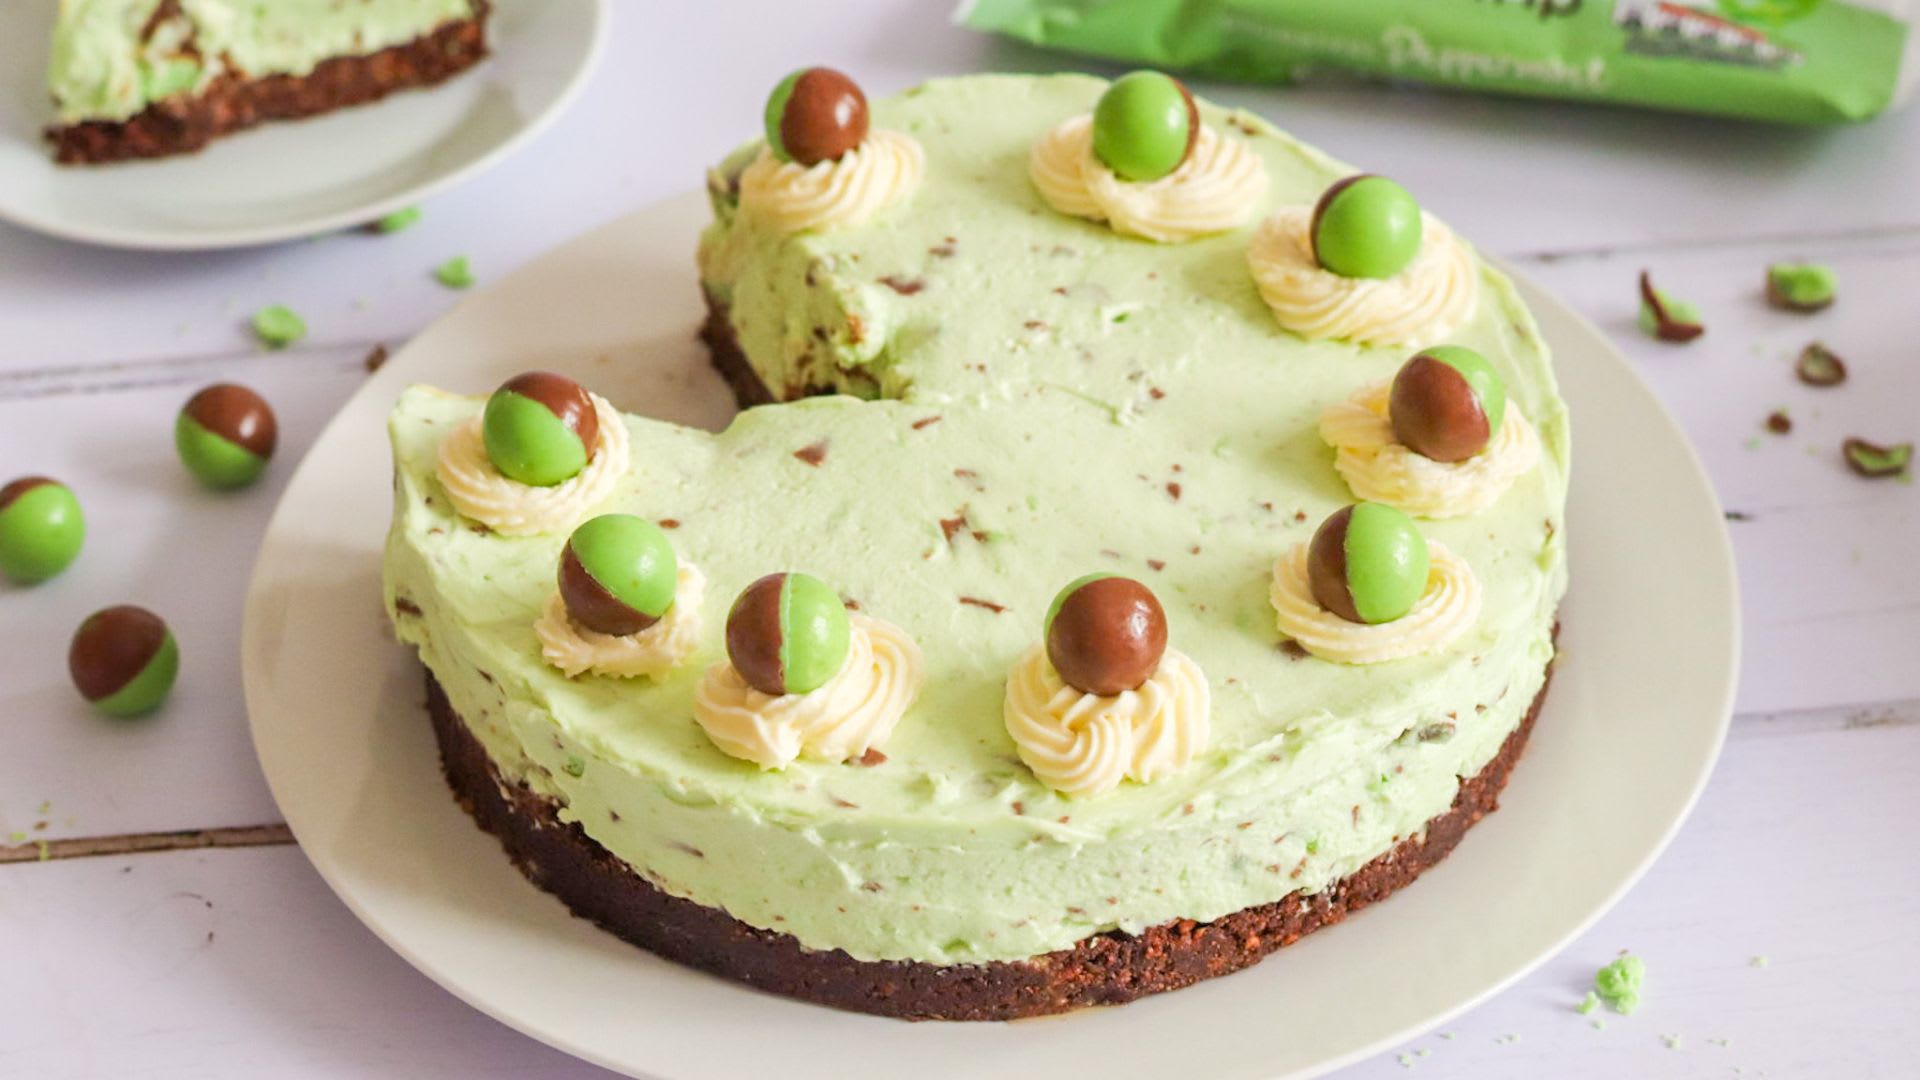
Mint Chip Version – Fold mini chocolate chips into the mint layer.
-
Brownie Base Swap – Replace cookie crust with baked brownie for extra fudginess.
-
White Chocolate Swirl – Drizzle melted white chocolate into ganache before setting.
-
Peppermint Bark Style – Add crushed candy cane on top for holiday flair.
Professional-Level Tips
-
Always use high-quality dark chocolate (60–70% cocoa recommended).
-
Measure peppermint extract precisely — balance is everything.
-
Allow full chilling time to achieve clean structural layers.
-
Use room-temperature cream cheese for smooth blending.
Final Thoughts
This Chocolate Mint Dream Bar isn’t just a dessert — it’s a textural and flavor composition built on precision. The richness of chocolate meets the cool lift of mint in perfect proportion. The visual contrast between dark ganache and pastel mint interior makes it stunning on any dessert table.
Serve chilled, slice cleanly, and watch it disappear fast.
If a dessert could be described as bold, refreshing, and unapologetically indulgent — this would be it.