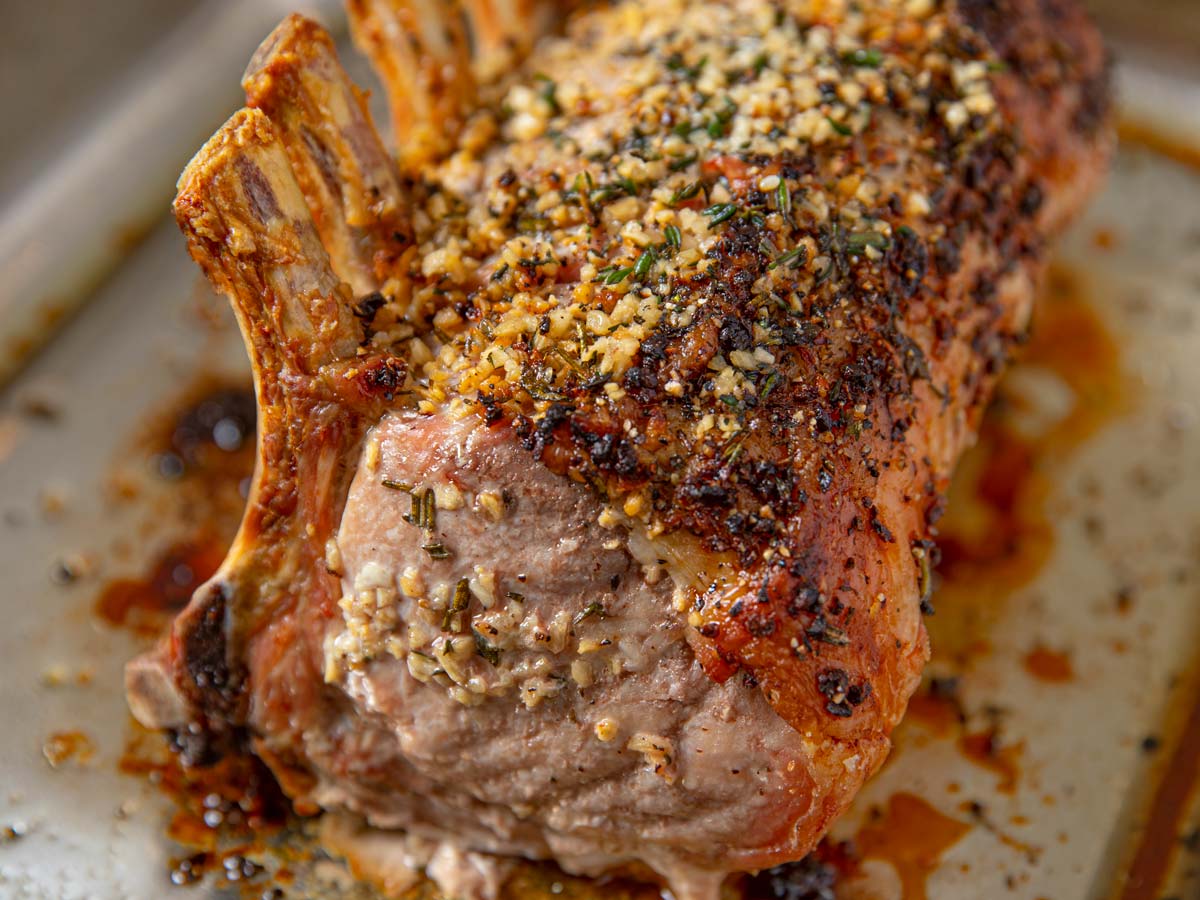
Oven-Roasted Rack of Pork – Shattered-Gold Crackling with a High-Gloss Cider Mirror
The Oven-Roasted Rack of Pork is a visual icon of "Rustic Grandeur." Its power comes from the **"Liquid Amber"** effect—the contrast between the **dark, craggy crackling** and the **silk-smooth glaze**. In 2026, it remains a top-tier "Heavy Pour" dish because the apple-honey reduction creates a thick, reflective lacquer that highlights the clean lines of the frenched bones.
The dish is defined by the "Reverse-Sear" technique, creating a perfectly even "Snow-White" interior, and the "Cider-Reduction" that provides a jewel-like translucency. -------------------------------- Ingredients (Serves 6-8)
- 1 Center-cut Rack of Pork (6-8 bones, frenched) - 2 tablespoons Kosher Salt (for the "Shattered" skin) - 1 tablespoon Fresh Sage & Rosemary (minced)
For the "Mirror" Cider Pour (The Star) - 2 cups Apple Cider (filtered) - 1/4 cup Honey - 1 tablespoon Dijon Mustard - 1 tablespoon Cold Butter (for "2026 Mirror" gloss)
Step 1 – The "Shatter" Prep Score the fat cap in a diamond pattern. Rub heavily with salt and herbs. Leave uncovered in the fridge for 24 hours. This is the secret to a "Shattered-Gold" crackling that pops on camera.
Step 2 – The Slow Roast Roast at 135°C (275°F) until the internal temperature reaches 55°C (130°F). This ensures a "Vibrant-White" and juicy interior.
Step 3 – Build the Cider Silk Simmer apple cider and honey in a pan. Reduce by 75% until it reaches a "Lava-like" consistency that won't separate. Step 4 – Achieve the Gloss Whisk in the Dijon and the cold butter at the very end. The butter is the secret to a "High-Gloss" finish that reflects studio lights.
Step 5 – The High-Heat Blast Crank the oven to 230°C (450°F) for 10-15 minutes. The skin should puff up and become "Shattered-Amber" and ultra-crisp.
Step 6 – The Essential Rest Let the roast rest for 20 minutes. This stabilizes the "Mirror" surface and prevents juices from thinning your "Heavy Pour."
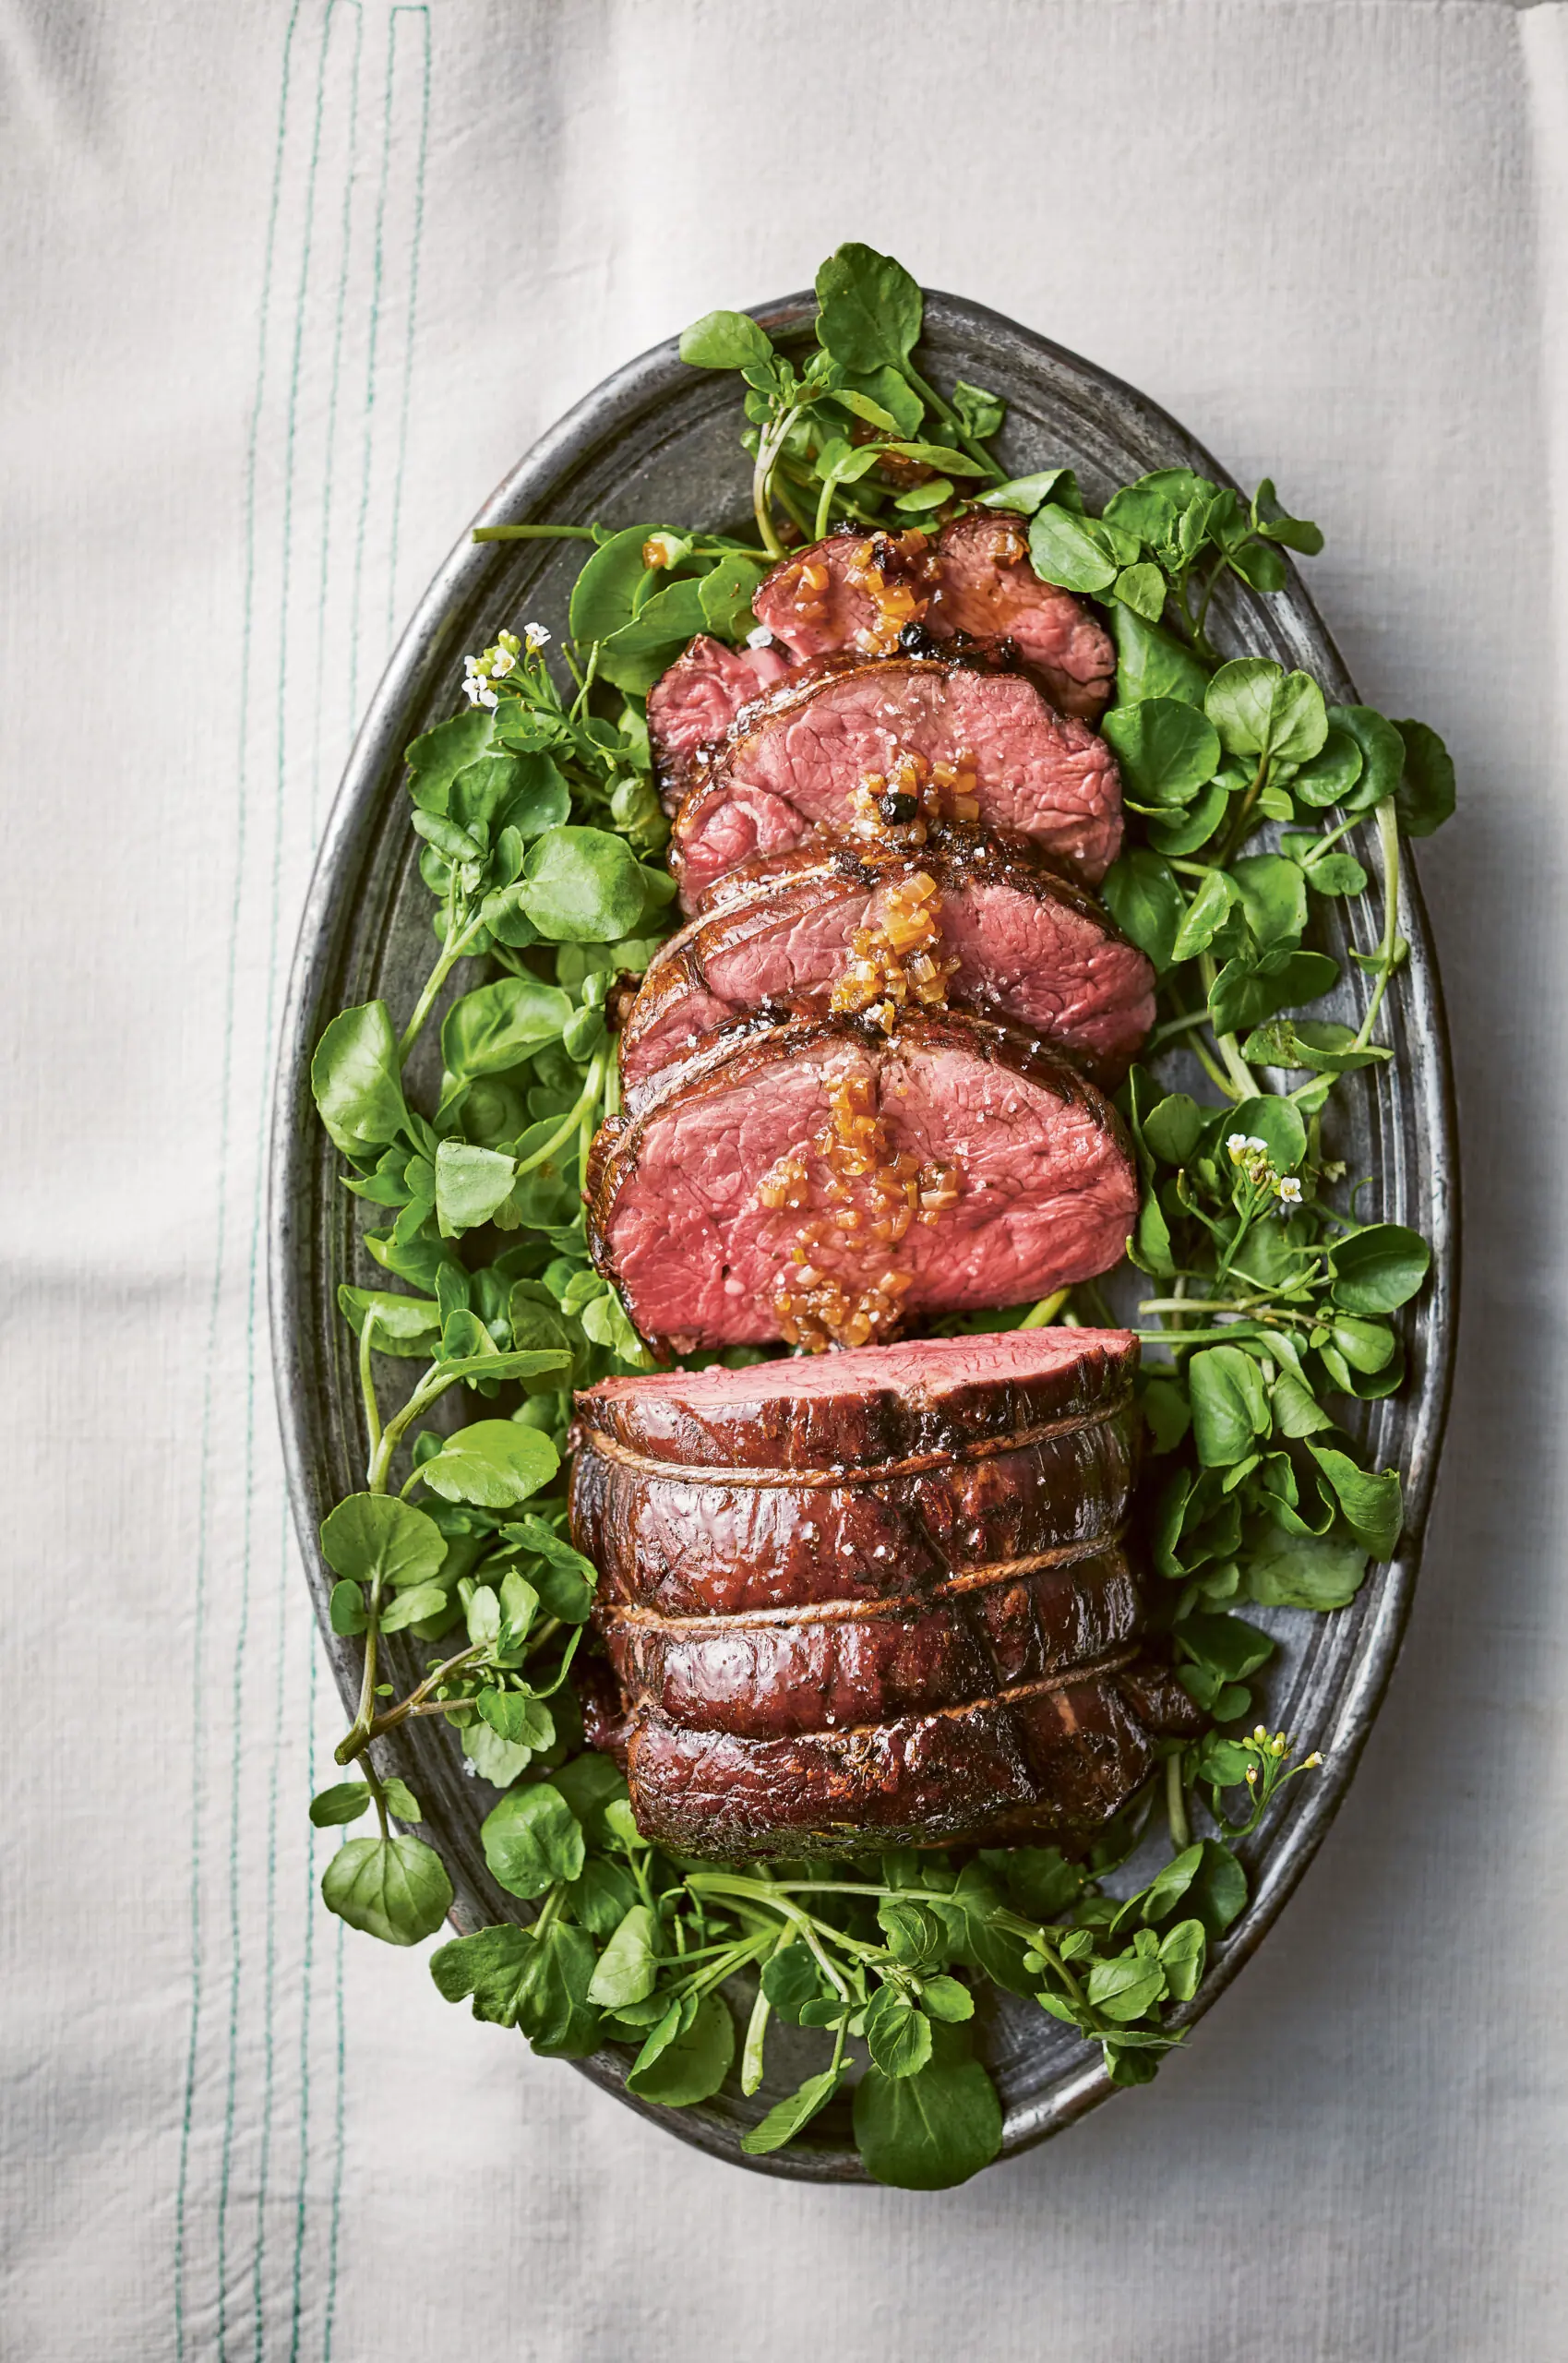
Step 7 – The Arrangement Place the whole rack on a dark wooden board or a slate-grey platter to make the amber colors pop.
Step 8 – The Heavy Pour (The Money Shot) Slowly pour the warm, shimmering Cider Mirror directly over the center of the roast, letting it flood the scored fat and drip down the white bones.
Step 9 – The Final Reveal Capture the moment the glaze "beads" on the salty crackling, creating a high-contrast visual of smooth vs. rough.
Step 10 – The Garnish Add a few charred apple slices and fresh sage leaves at the base for a "Vibrant Green" pop. -------------------------------- Pro Tips Using "Frenched" bones (scraped clean) is mandatory; the white bone provides a "Neutral Pedestal" that makes the amber glaze look more intense. The 24-hour dry-brine is the only way to get a "Shattered-Glass" texture on the fat; moisture is the enemy of a high-gloss roast finish. If the glaze gets too thick, add a teaspoon of hot cider to bring back the "Liquid-Glass" consistency right before the camera rolls.
-------------------------------- Why This Performs High-gloss "Amber Mirror" glaze visual. Shattered-gold "Crackling" texture. Snow-White vs. Mahogany-Brown color contrast. Elite "Festive Celebration" aesthetic.