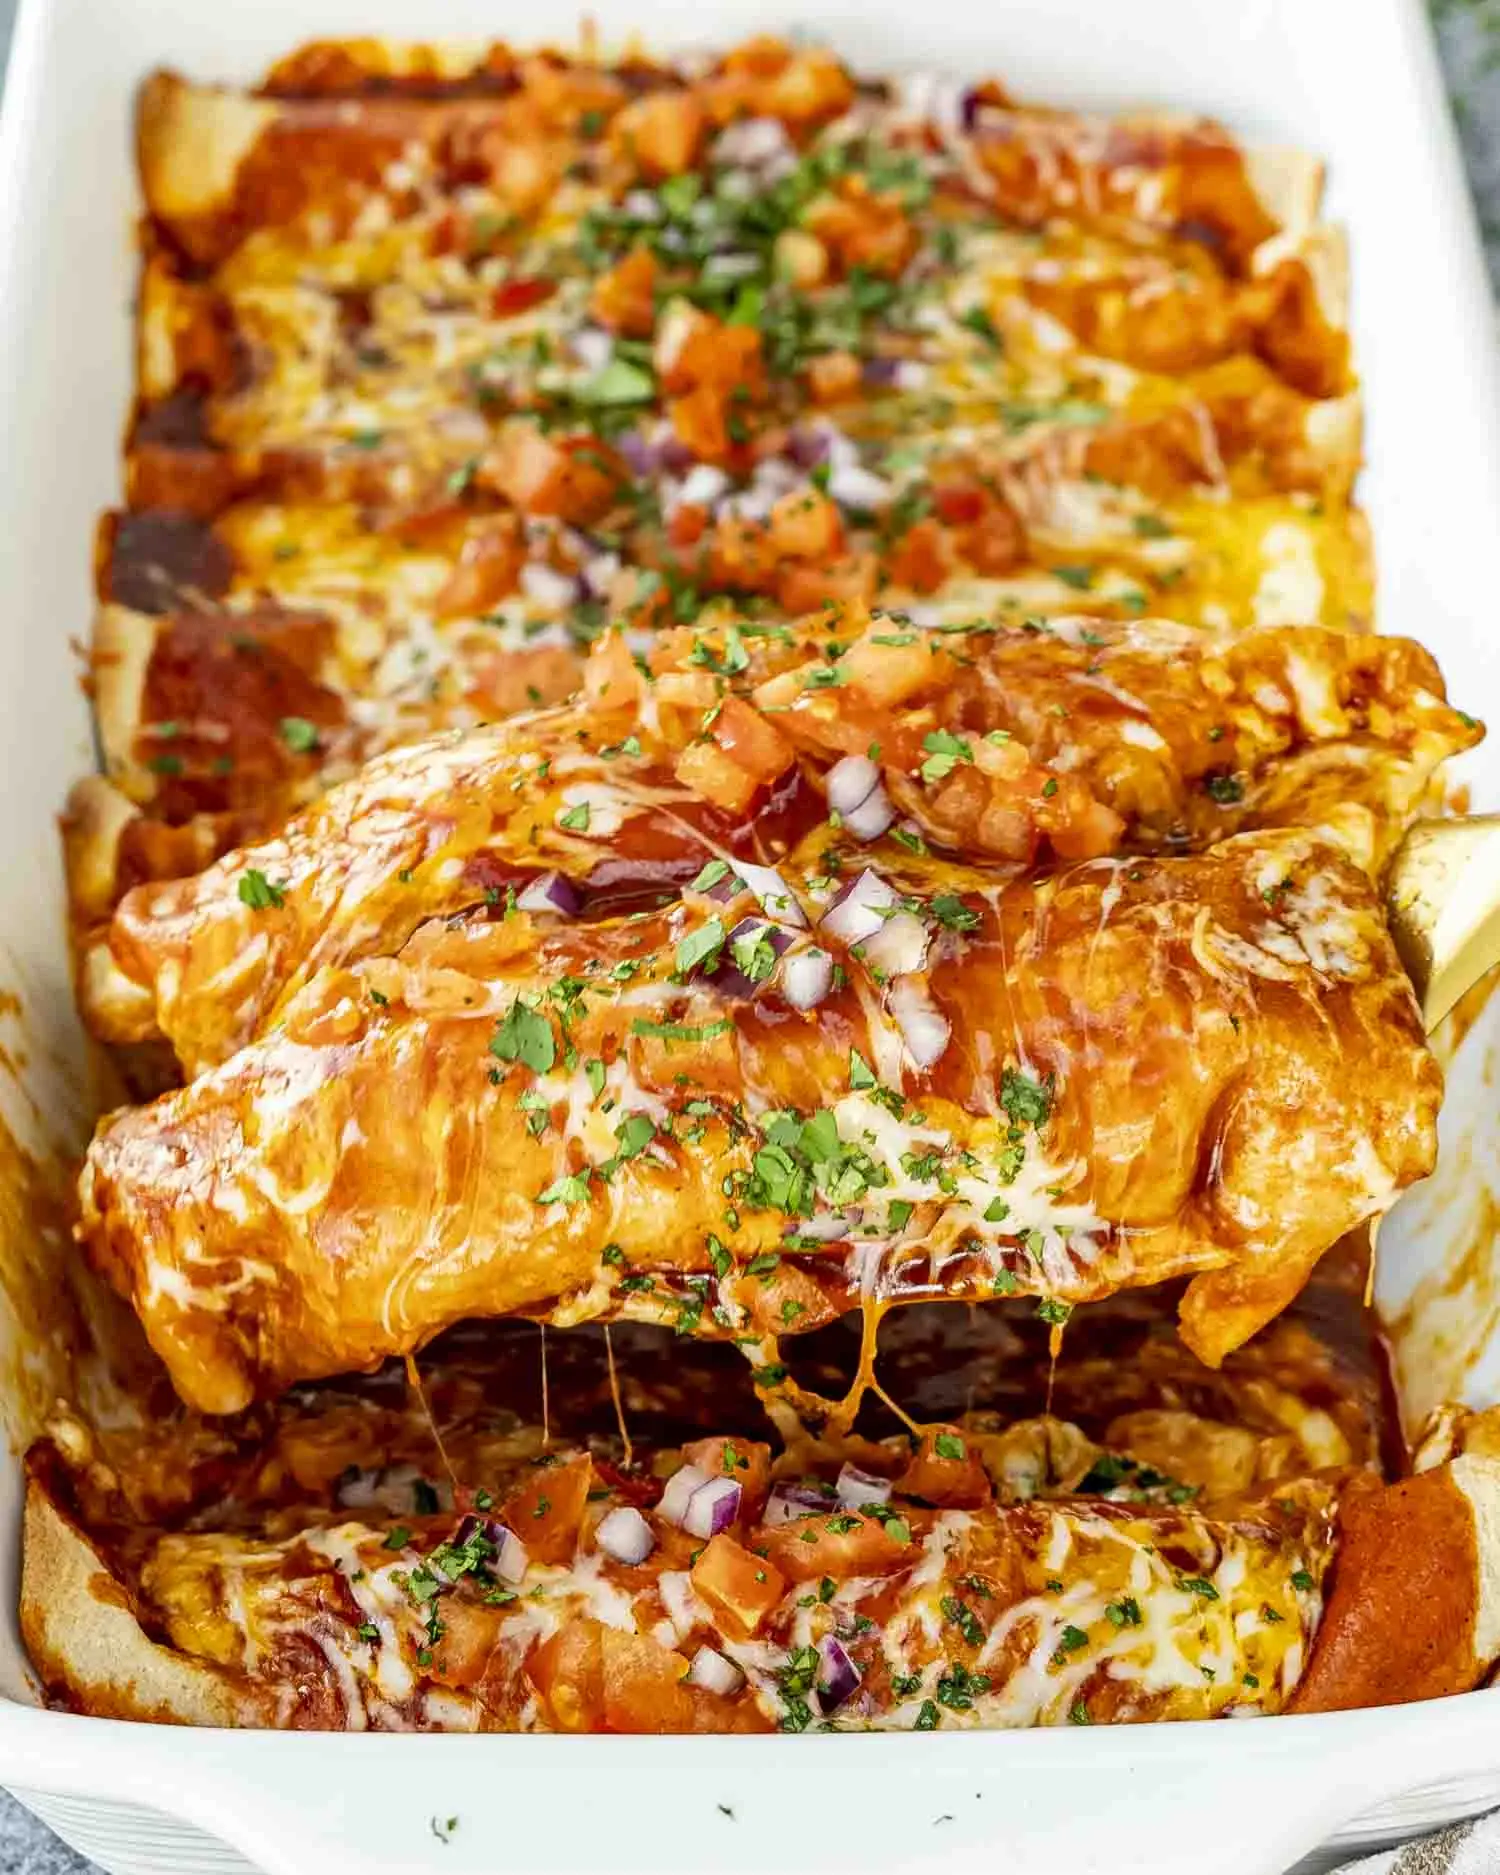
Chicken Enchiladas – Shattered-Gold Crust with a High-Gloss Ruby Mirror
Food 05/04/2026 00:41
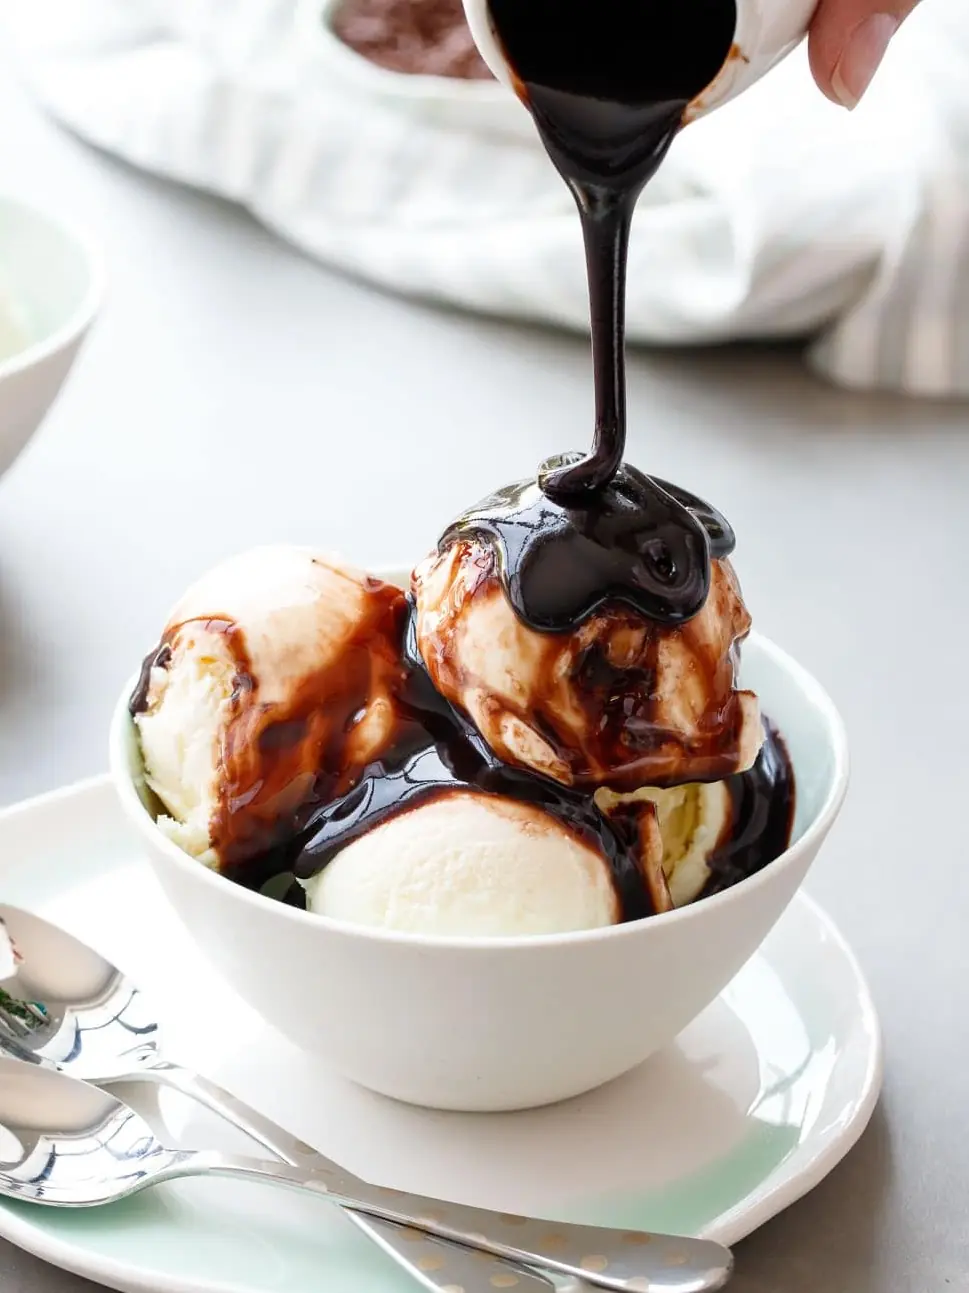
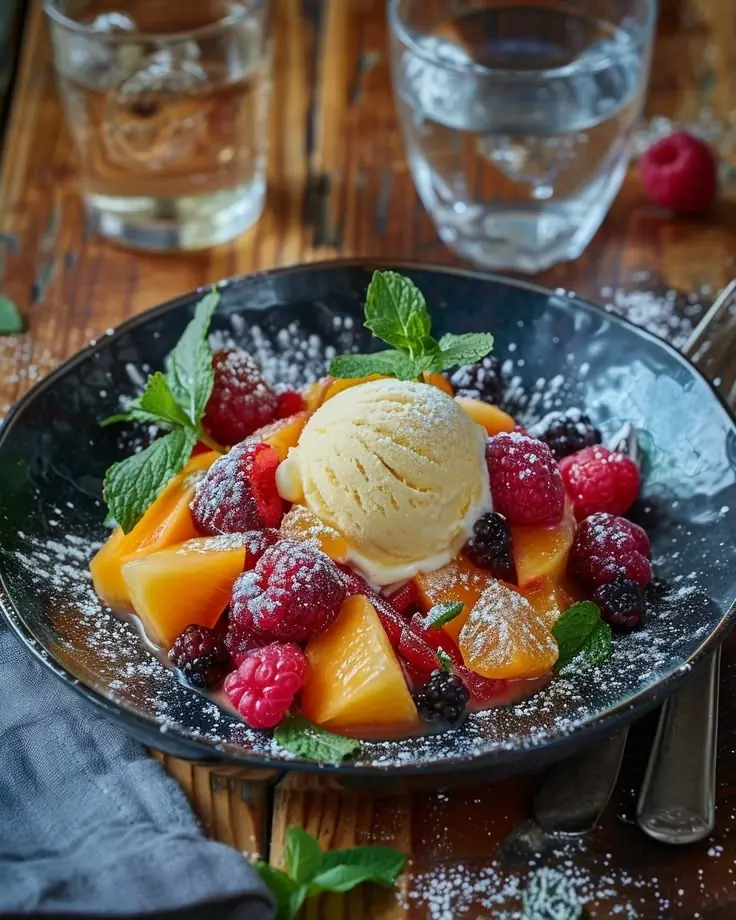
The Red Velvet Cheesecake Ice Cream redefines the aesthetic of Orchard Opulence, transforming a frozen treat into a high-contrast masterpiece of light and shadow. The visual power of the dish relies on the Ebony-on-Snow effect—where the deep, light-absorbing obsidian of the hot fudge reduction meets the snow-white surface of the cream cheese ice cream silk. In 2026, this remains a top-tier Heavy Pour experience because the dense, architectural structure of the frozen scoops provides a stable matte canvas, allowing the high-gloss ebony mirror to catch studio lights with absolute precision and clarity.
The dish is defined by the No-Churn-Fold technique, creating the signature liquid-silk texture, and the Dark-Cacao-Honey-Butter-Emulsion that provides a high-gloss, mirror-like finish.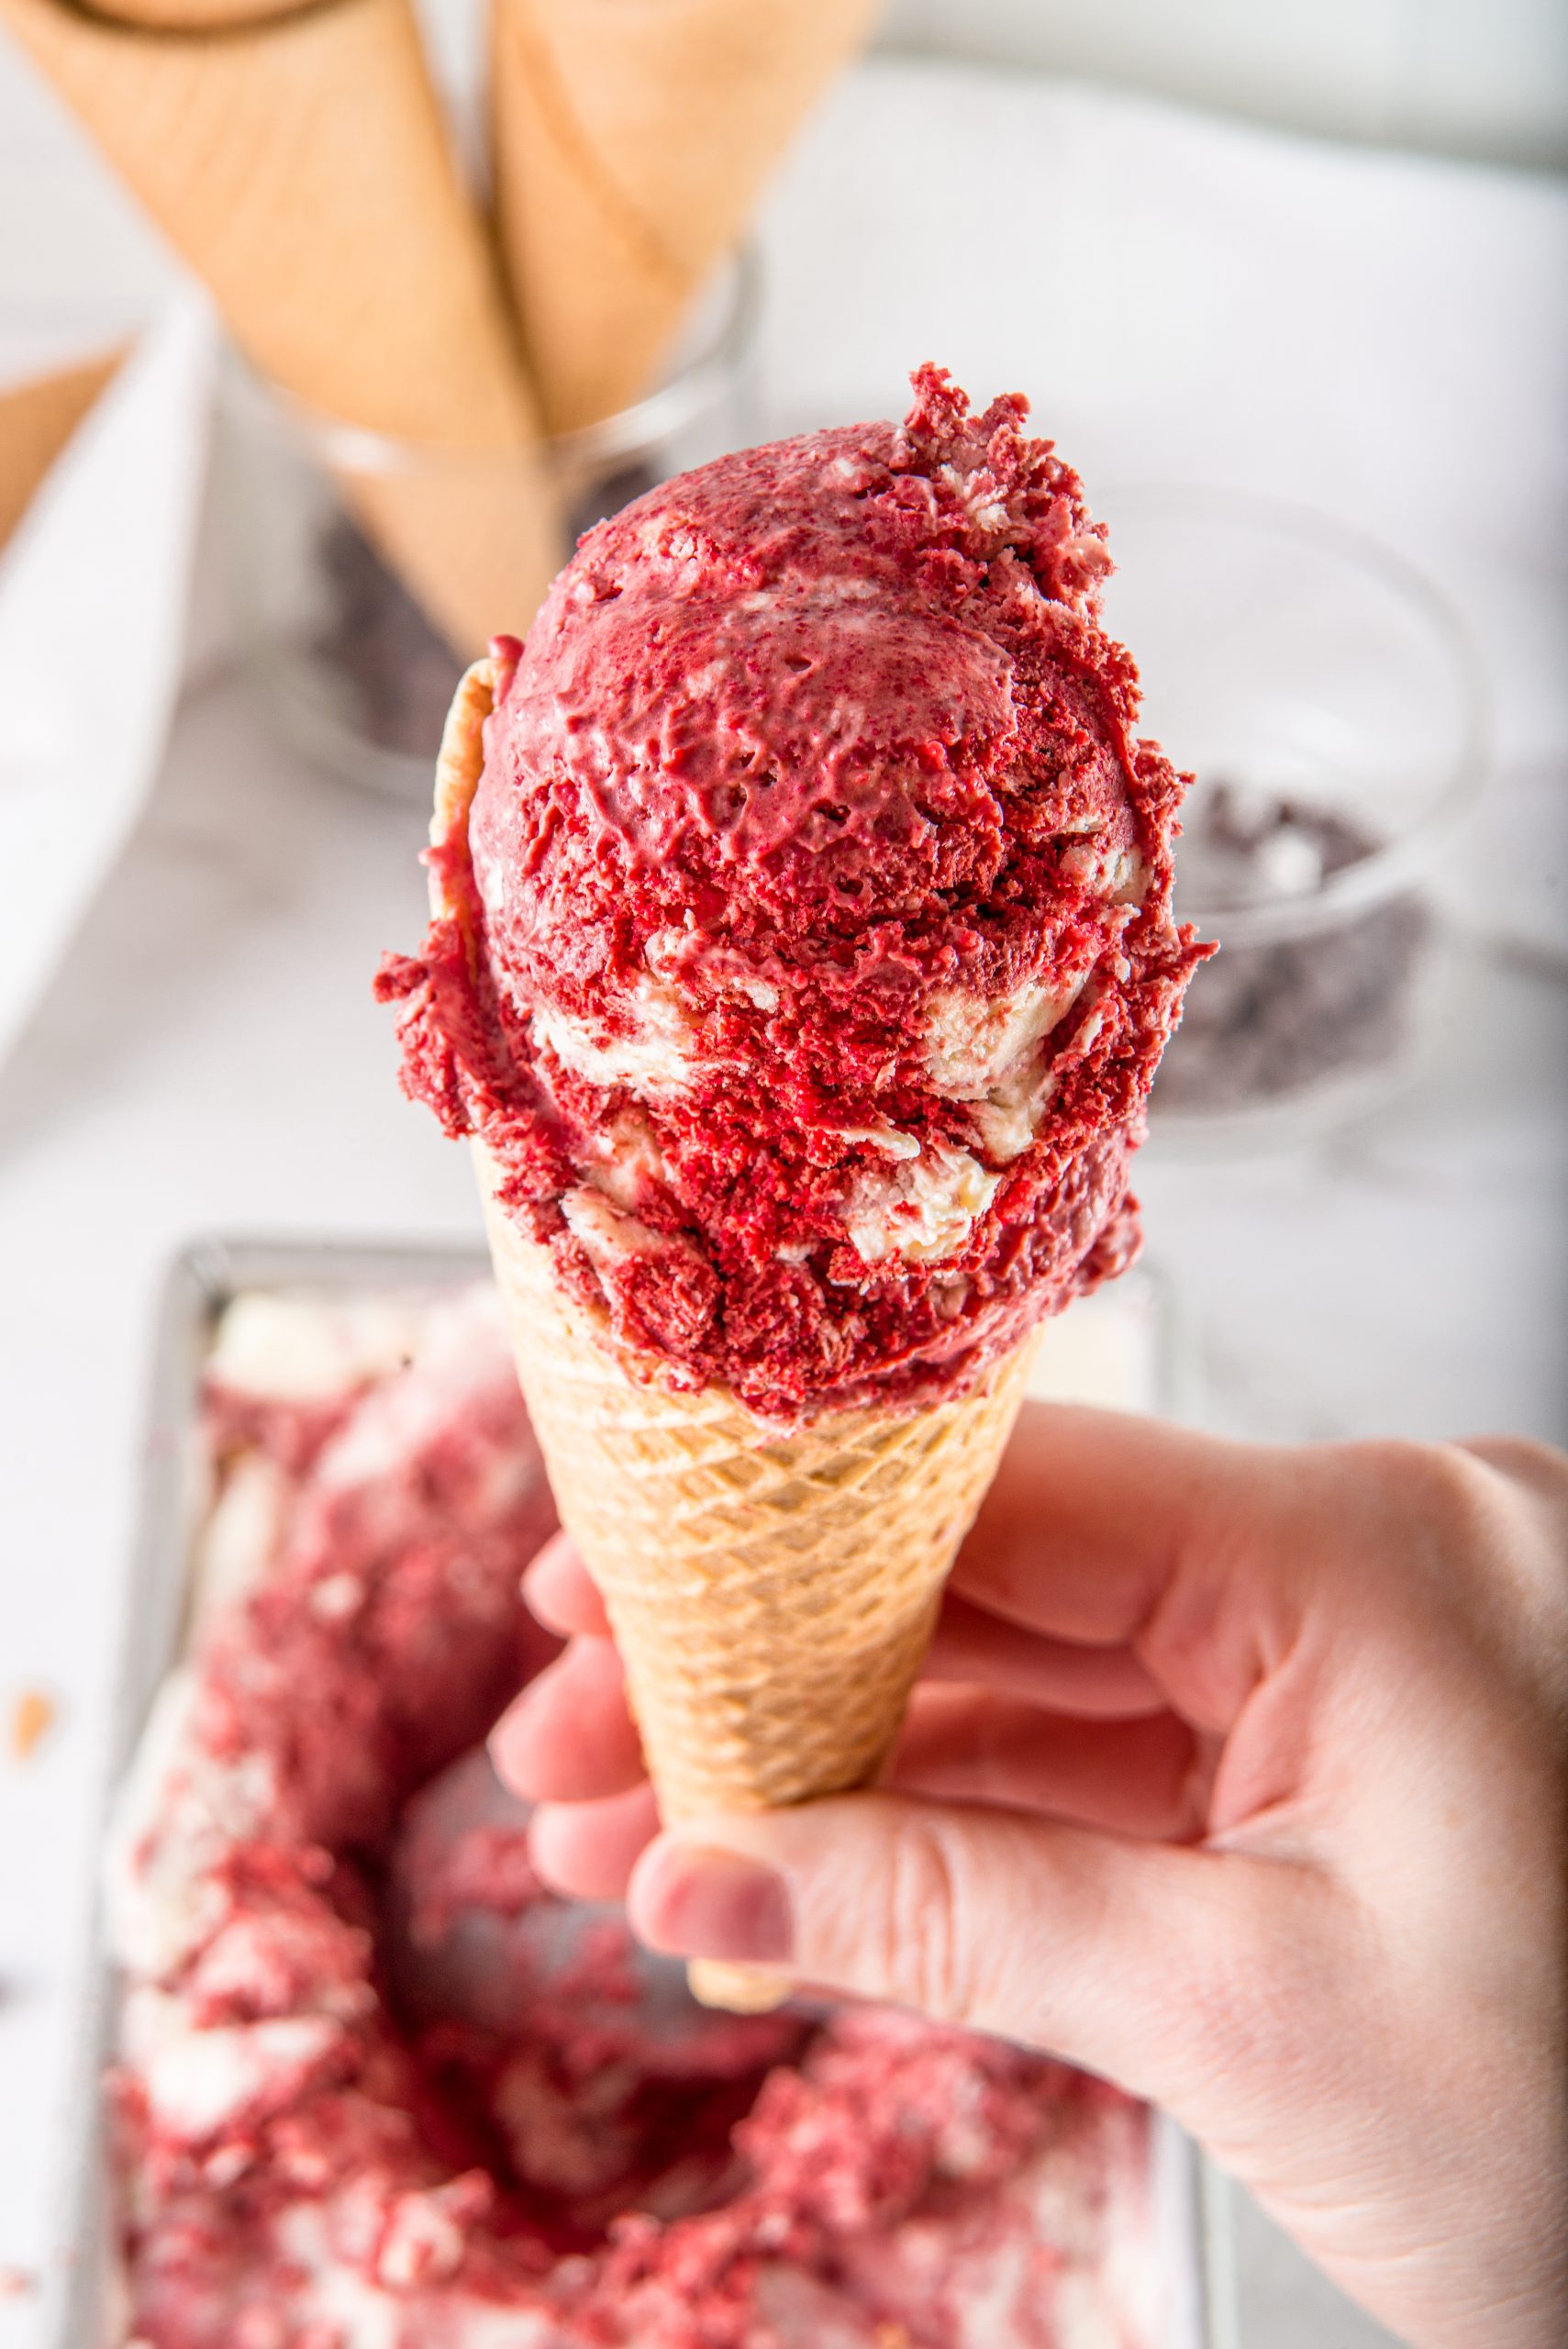
Ingredients (Serves 12)
1 pint Heavy Cream (chilled for Snow-White silk foundation)
4 oz Cream Cheese (softened for Snow-White density)
4.5 oz Sweetened Condensed Milk (for Liquid-Silk base)
2-3 cups Red Velvet Cake cubes (for Shattered-Char texture)
2 tsp Vanilla Extract (for structural Reflector base)
For the Mirror Ebony Pour (The Star)
1/2 cup Hot Fudge (strained for High-Gloss clarity)
1 tablespoon Wildflower Honey (the secret for High-Gloss reflection)
2 tablespoons Cold Butter (for 2026 Mirror gloss)
1/2 teaspoon Espresso Powder (for Visual Grit)
Step-by-step cooking (High-End Method)
Step 1 – The Snow-White Silk Beat together softened cream cheese and sweetened condensed milk until Liquid-Silk smooth. Whip the heavy cream in a chilled bowl until it reaches a stable Snow-White silk texture with soft peaks.
Step 2 – The Fold Gently fold the cream cheese mixture into the whipped cream. This provides the Snow-White density needed to act as a stable Reflector base. Fold in the red velvet cake cubes to create the foundational Shattered-Char contrast.
Step 3 – The Radiant Freeze Transfer to a loaf pan and top with additional cake cubes. Freeze for 4-6 hours until solid. This is mandatory to achieve the stable surface needed for the final heavy pour.
Step 4 – Build the Ebony Silk Simmer hot fudge and wildflower honey until reduced by 20%. The honey is the secret weapon for a high-gloss finish that reflects light like liquid obsidian once the butter is added.
Step 5 – Achieve the Gloss Whisk in the cold butter and espresso powder at the very last second over low heat. This creates a Lava-like emulsion that is Crystal-Clear and dark ebony.
Step 6 – The Sieve Sift Pass the chocolate glaze through a fine-mesh sieve. This is mandatory for a smooth look—no cake crumbs or espresso fragments should break the mirror surface before the pour.
Step 7 – The Set Scoop the ice cream into a chilled, dark bowl. Let rest for 1 minute. This stabilizes the Mirror surface so the cold temperature doesn't muddy the heavy pour.
Step 8 – The Arrangement Position the scoops in a "Strict-Geometric" pyramid. Sprinkle the Visual Grit of a few extra cake crumbs in a precise line to maximize the vertical color pop.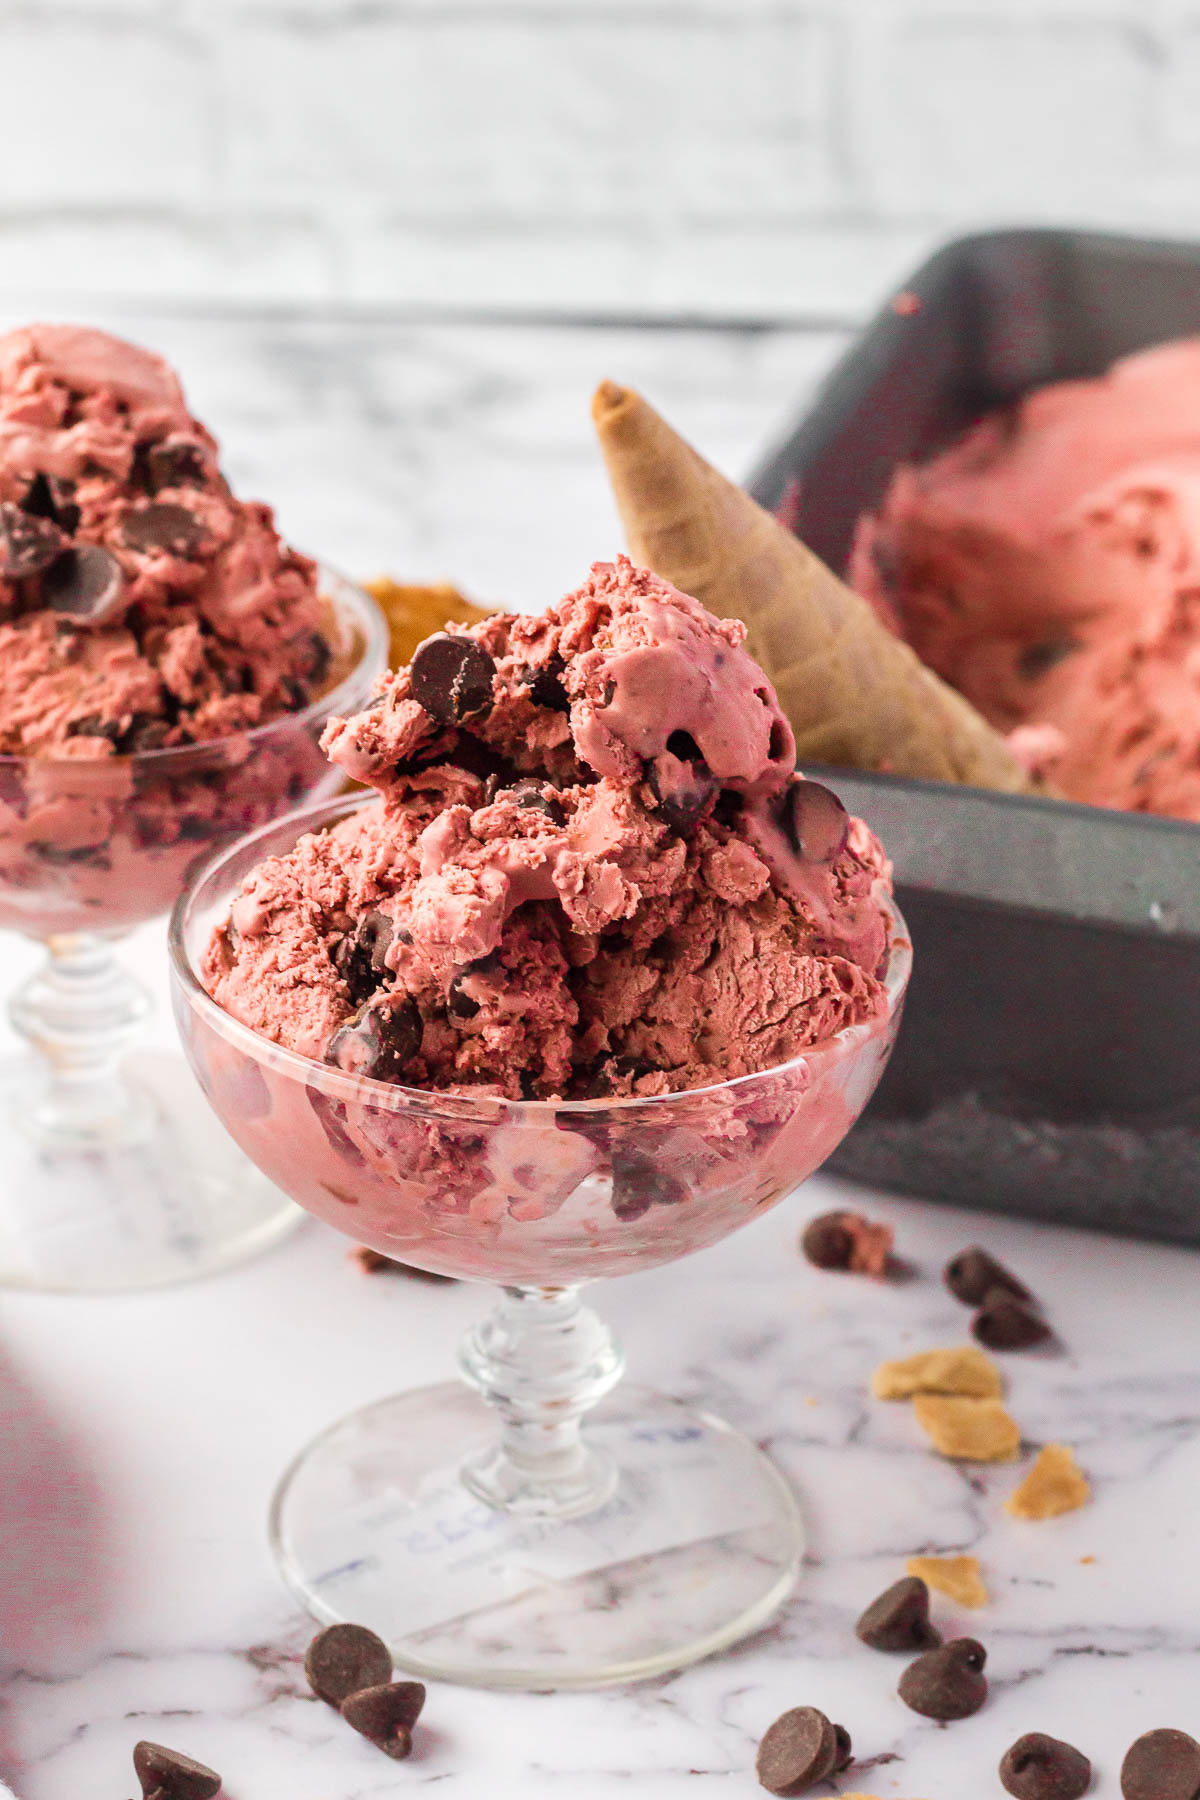
Step 9 – The Heavy Pour (The Money Shot) Slowly pour the warm, shimmering Ebony Mirror directly over the center of the ice cream, letting it flood the white silk and bead on the red cake chunks.
Step 10 – The Final Reveal Capture the moment the dark liquid beads on the white silk, creating a high-contrast visual of ink against snow.
Flavor & Experience Summary This Red Velvet Ice Cream is a decadent journey of cacao, cream, and silk. Every bite delivers the savory richness of prime cream cheese and the crisp, clean snap of red velvet cake, perfectly unified by the zesty depth of the espresso mirror. It is a high-luxury dessert that brings a sense of refined Vitality and modern energy to the table.