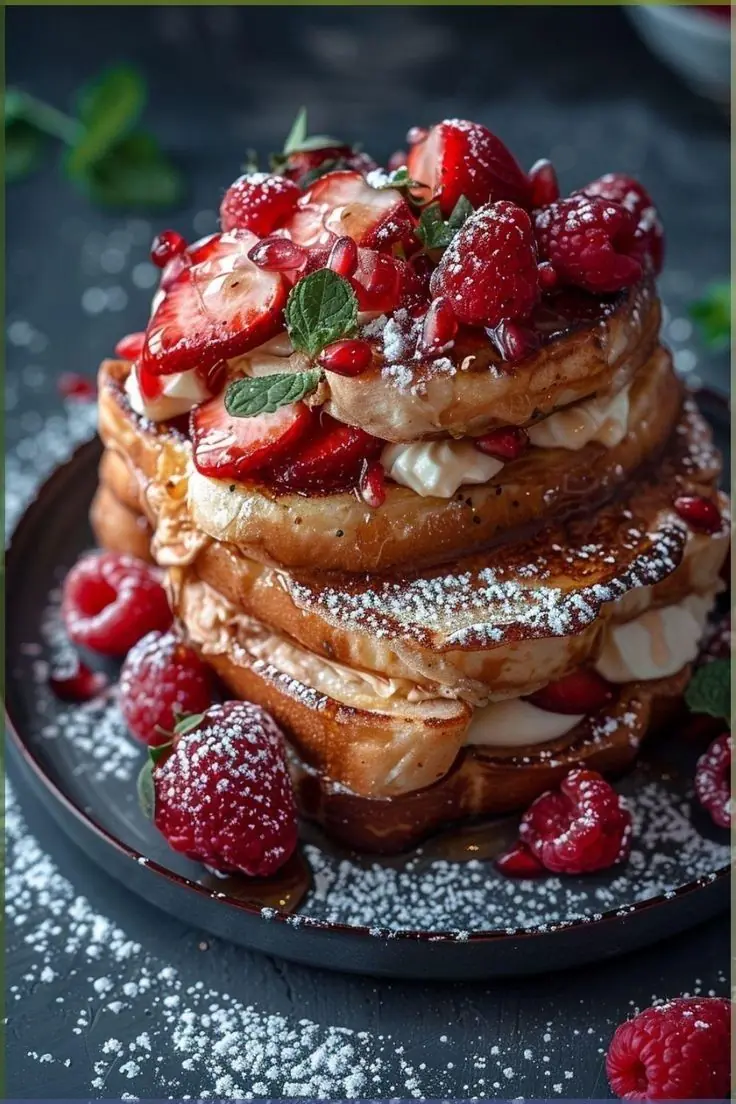
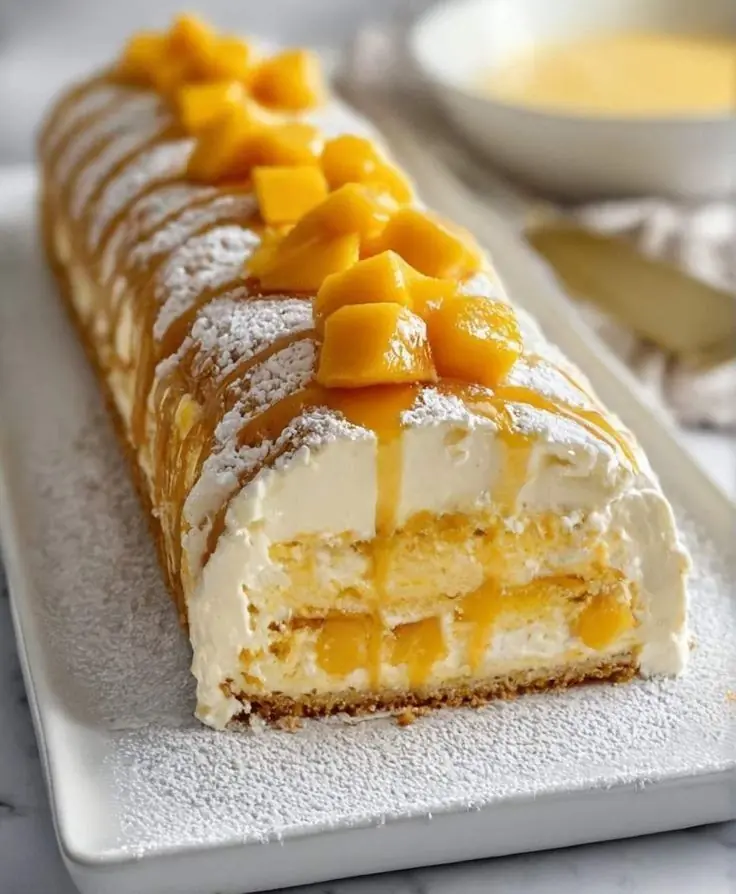
🍓 Raspberry Cream Layer Cake with Jelly Glaze

A Light, Elegant, No-Bake Dessert with Fresh Berry Flavor
This cake features soft sponge or biscuit layers, silky vanilla cream, fresh raspberries, and a glossy raspberry jelly topping.
It’s refreshing, not overly sweet, and perfect for warm weather or premium dessert menus.
🛒 Ingredients
For the Base Layer (Biscuit or Sponge)
Option 1 (No-bake):
- 200 g digestive biscuits (crushed)
- 100 g unsalted butter (melted)
Option 2 (Sponge Cake):
- 3 eggs
- 90 g sugar
- 90 g all-purpose flour
- 1 tsp vanilla extract
For the Cream Filling
- 400 ml heavy cream (cold)
- 250 g cream cheese (softened)
- 100 g powdered sugar
- 1 tsp vanilla extract
- 10 g gelatin (or 2 tsp powdered gelatin)
- 3 tbsp warm water (to bloom gelatin)
👉 Texture: smooth, stable, mousse-like.
For the Raspberry Layer
- 200 g fresh or frozen raspberries
- 2 tbsp sugar
- 1 tsp lemon juice
For the Jelly Topping (Signature Look)
- 200 ml raspberry juice (or puree + water)
- 2 tbsp sugar
- 8 g gelatin
- 2 tbsp water
For Decoration
- Fresh raspberries
- Mint leaves
- Powdered sugar (optional)
🔪 Step-by-Step Instructions

Step 1: Prepare the Base
No-bake version:
- Mix crushed biscuits with melted butter.
- Press firmly into a square pan lined with parchment.
- Chill in fridge for 20–30 minutes until firm.
Sponge version:
- Beat eggs + sugar until fluffy.
- Fold in flour + vanilla.
- Bake at 350°F (175°C) for 15–18 minutes.
- Let cool completely.
Step 2: Make the Raspberry Layer
- Cook raspberries with sugar + lemon juice over medium heat.
- Mash lightly → simmer 5 minutes.
- Let cool.
👉 You can strain for a smoother texture or keep seeds for a natural look.
Step 3: Prepare the Cream Filling
- Bloom gelatin in warm water (let sit 5 minutes).
- Beat cream cheese + powdered sugar until smooth.
- Add vanilla.
- Whip heavy cream separately until soft peaks.
- Melt gelatin gently (do NOT boil).
- Mix gelatin into cream cheese mixture.
- Fold in whipped cream → smooth and airy.
👉 This creates a stable mousse layer.
Step 4: Assemble the Layers
- Spread half of the cream over the base.
- Add raspberry layer evenly.
- Spread remaining cream on top.
- Smooth surface.
👉 Chill for 1–2 hours before adding jelly.
Step 5: Make the Jelly Topping
- Bloom gelatin in water.
- Heat raspberry juice + sugar until warm.
- Add gelatin and stir until dissolved.
- Let cool slightly (not hot!).
👉 Pour gently over cake.
Step 6: Final Chill
- Refrigerate for at least 4 hours (best overnight)
👉 This sets all layers perfectly.
Step 7: Slice & Decorate
- Cut into clean squares (wipe knife between cuts).
- Top with fresh raspberries + mint.
- Dust lightly with powdered sugar.
💡 Pro Tips (Important for Perfect Layers)
- Chill between layers → prevents mixing
- Don’t pour hot jelly → melts cream layer
- Use sharp knife for clean cuts
- Line pan with parchment → easy removal
🔥 Flavor & Texture Breakdown
- Base → buttery, slightly crunchy
- Cream layer → smooth, airy, lightly sweet
- Raspberry layer → tart, fruity contrast
- Jelly top → glossy, fresh, slightly firm
👉 Overall: light, balanced, not overly heavy.
🥑 Why This Dessert Works
- Balanced sweetness (not too sugary)
- Fresh fruit acidity cuts through cream
- Beautiful layered presentation → viral-ready
🔄 Variations
- Swap raspberries → strawberries or blueberries
- Add white chocolate to cream for richer taste
- Use gelatin sheets for smoother texture
- Add sponge + syrup soak for more classic cake feel
🍽️ Serving Ideas
- Perfect for:
- Afternoon tea ☕
- Party desserts 🎉
- Café-style menu
📦 Storage
- Keep refrigerated
- Best consumed within 2–3 days
- Do not freeze (affects texture)